For some time now we’ve been working on updating your experience using Code Ready Containers, a container platform installation for your local machine, by providing interesting developer tooling and project examples.
There is no better way to learn about container technologies, container platforms, and container-based application development than getting hands-on with great open technologies.
Previously, I’ve shared how to install a custom latest greatest version of the Red Hat process automation tooling. The question that remains is, what do you need to do to make use of the container images pre-installed with the latest version of Code Ready Containers 1.7.0?
This tutorial walks through a few simple steps to getting both the latest Code Ready Containers started on your laptop, as well as installing the provided process automation tooling catalog entry.
Exploring your first process automation project on an OpenShift Container Platform has never been easier.
This tutorial is two parts, first installing the latest Code Ready Containers v1.7.0 to provide for an OpenShift Container Platform on your local laptop. Second, you’ll install the provide Red Hat Process Automation Manager 7.4 authoring image from the developer catalog.
Installing the container platform
You can of course download the latest Code Ready Containers, but to ensure that you are able to actively use this with various provided images found in the developer catalog requires fine tuning.
To that end, I’ve provided an installation project that configures all you need in just a single installation script as follows.
First off, you don’t even have to pre-download anything other that this project as it’s going to check for each component and point you to the download site if you just follow the following steps:
- Download and unzip.
- Run ‘init.sh‘ or ‘init.bat‘ file, then sit back. (Note: ‘init.bat‘ should be run with Administrative privileges.)
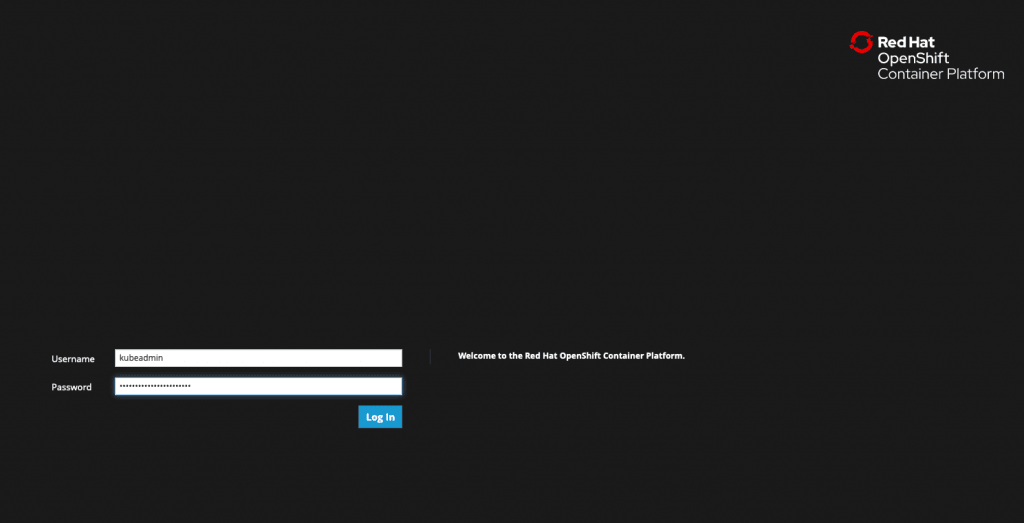
- Follow displayed instructions to log in to your brand new Code Ready Containers OpenShift Container Platform on your laptop.
Paying close attention to the above init script output ensures a painless experience and you’ll be up and running in just a few minutes. If you’re wondering what’s happening, here are the steps inside the installation if you are running it for the first time on your machine:
- Your system is checked for the availability of the OpenShift client known as ‘oc client‘, if not available or not the latest version, you’ll be pointed to where you download. After downloading and installing ‘oc client‘, restart the installation script.
- Your system is checked for the availability of Code Ready Containers version 1.70, if not you’ll be pointed to the download site. Part of this download is a pull-secret file, get that too and add it’s path to the SECRET_PATH variable in the installation script, it’s found at the top. After installing ‘crc‘, restart the installation script.
- The next check is for a valid path to your pull-secret file, it should be set in the SECRET_PATH variable, if not the installation stops until you correct this.
- Next the installation sets up the container platform configuration by allocating 10 GB of memory and 4 CPUs.
- At this time the container platform is started, you are invited to grab a coffee while you wait.
- As the platform starts, information is gathered to present you with an overview once the installation has completed so you can log in.
That’s it. Using the URL provided you can log in and open the developer view to watch the second part of this article, installing the process automation tooling container image.
Installing process automation
Now it’s time to install the process automation tooling, easily done by following the steps below:
- Download and unzip this demo.
- Run ‘init.sh‘ or ‘init.bat‘ file. ‘init.bat‘ must be run with Administrative privileges:
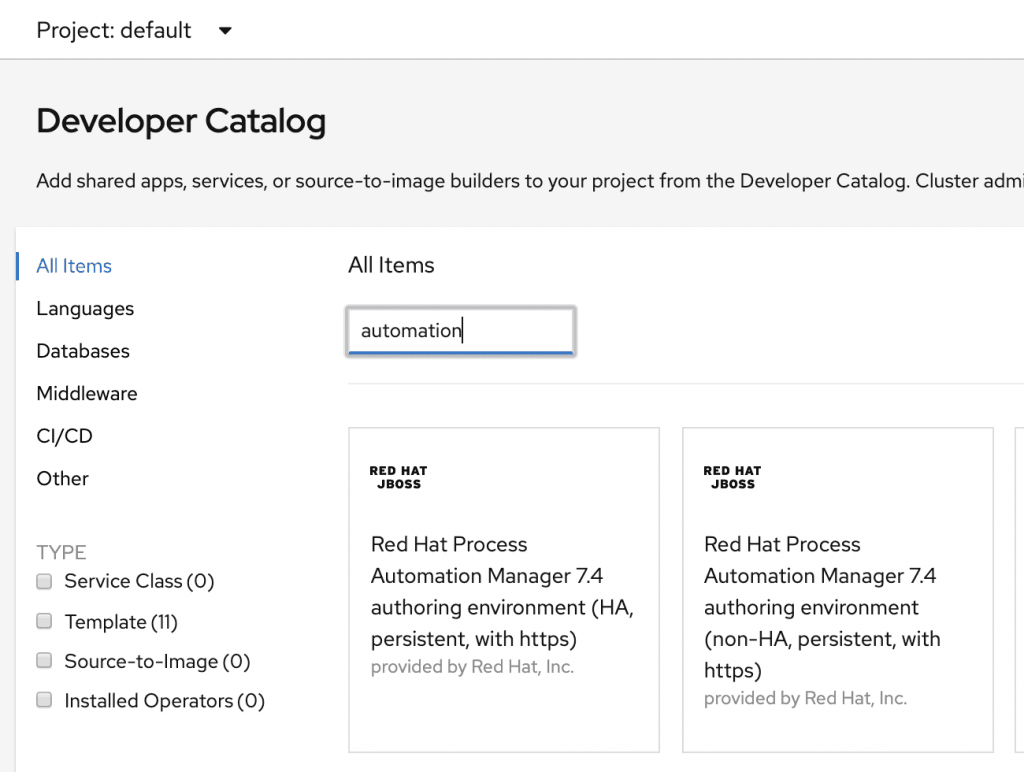
Note that this installation does not require any product downloads, because you’re installing using the provided Code Ready Containers developer container catalog entry. The exact entry is the Red Hat Process Automation Manager 7.4.
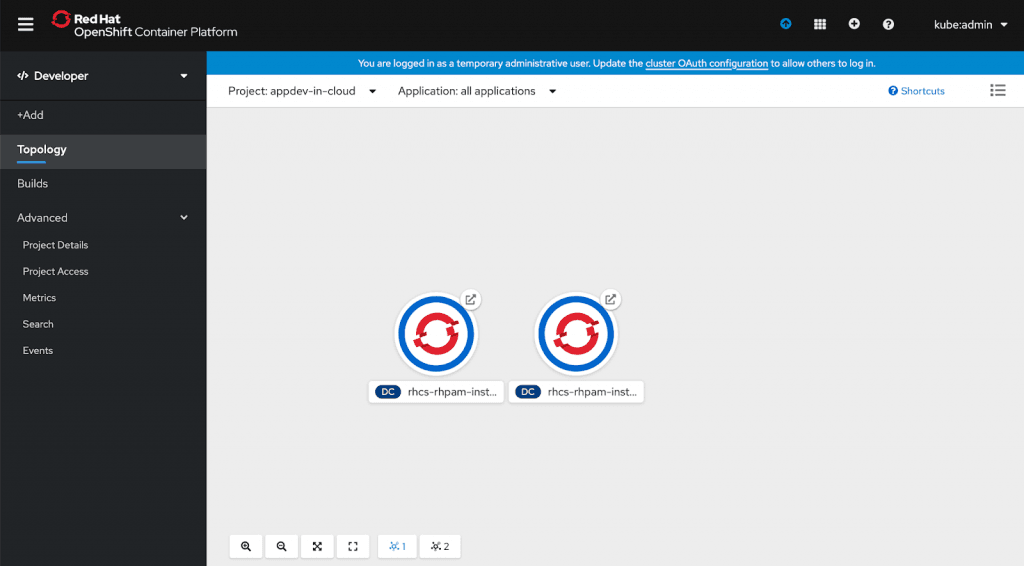
As you watch the installation script run you can view the developer
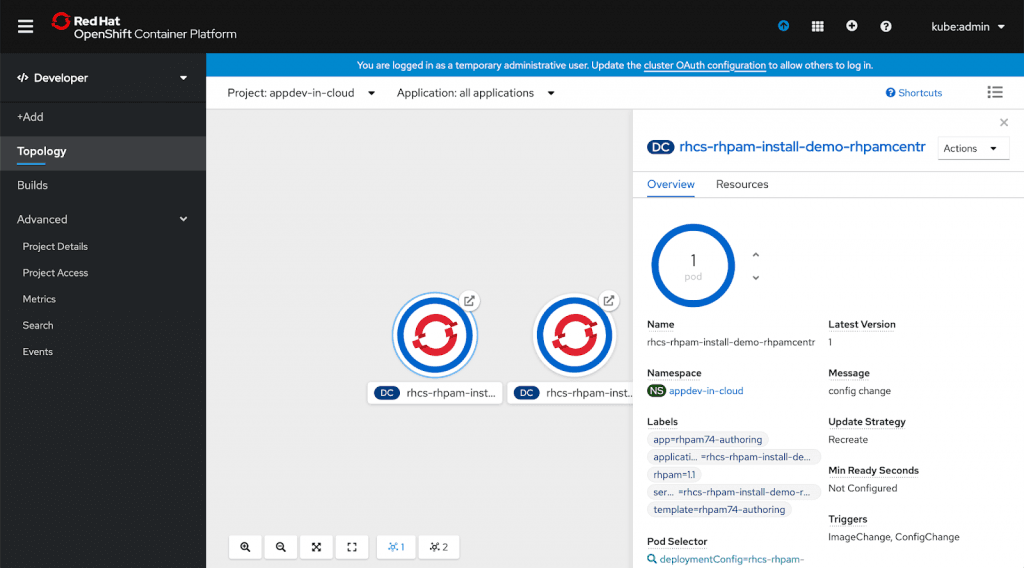
Topology view in Code Ready Containers console you logged in to above. You will see two containers starting up, one is the business central authoring environment and the other is the KIE-server deployment container.
Once they are both running with a dark blue circle to indicate this, you can login to the authoring environment. Either look at the authoring container by clicking on it to open the right pane with information, or easier, just use the URL provided at the end of the installation script.
Now log in to Red Hat Process Automation Manager to start developing containerized process automation projects (the address will be generated):
- Code Ready Container example: https://rhcs-rhpam-install-demo-rhpamcentr-appdev-in-cloud.apps-crc.testing ( u:erics / p:redhatpam1!)
Not sure how to get started with Red Hat Process Automation Manager? Try one of these online workshops to build or import your first project.
Published on System Code Geeks with permission by Eric Schabell, partner at our SCG program. See the original article here: Code Ready Containers – Installing process automation from developer container catalog Opinions expressed by System Code Geeks contributors are their own. |
