In this post, we feature a comprehensive Nginx Websockets proxying guide. This article is part of our Academy Course titled Introduction to Nginx.
This course will introduce you to the magic of nginx. You will learn to install and configure nginx for a variety of software platforms and how to integrate it with Apache. Additionally, you will get involved with more advanced concepts like Load Balancing, SSL configuration and Websockets proxying. Check it out here!

Table Of Contents
1. Introduction
According to the RFC (Request For Comments) #64551, issued by the IETF (Internet Engineering Task Force), WebSocket is a protocol providing full-duplex communications channels over a single TCP connection and is designed to be implemented in web browsers and servers, but it can be used by any client or server application.
Like TCP, WebSocket makes full-duplex communication possible in a low latency connection, but it differs from TCP in that it enables a stream of messages instead of a stream of bytes.
In other words, there is a persistent connection between client and server, and any of them can start sending data at any time. This way you will think about using WebSockets whenever you need a near real-time connection between the client and the server, whether it is in a web environment or not.
Please note that Nginx supports Websockets starting in version 1.3.13 (released on February 2013) and is accessible within the core product. Older versions DO NOT support this protocol.
In this tutorial we will also configure Upstart, a modern replacement for init.d written by the Ubuntu developers, to make sure that our websocket application (written in Node.js) automatically restarts if it crashes, and starts up when our server boots up.
2. Installing Node.js
First off, let’s create a directory inside our home to download the source code for Node.js (see Fig. 1a). Note that for the sake of clarity, this directory is located at the same level that the one where we downloaded the source code for Nginx as explained in Tutorial #1. We will then use the same directory to extract the contents of the tarball and to install Node.js using the regular procedure:
(We are following the usual build process here because the checkinstall method produced an error while building the deb package.)
sudo ./configure, sudo make, sudo make install
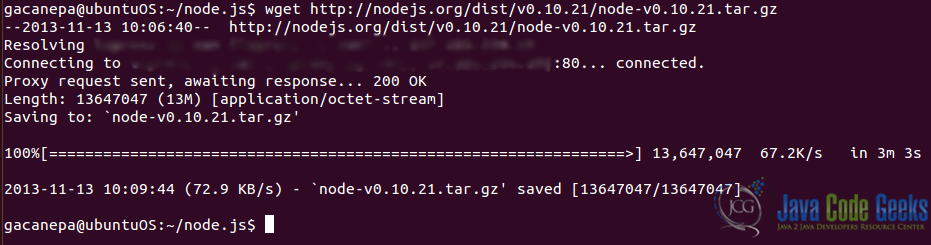
At the time of this writing, the latest version of Node.js is v0.10.21, which can be downloaded (32-bit or 64-bit versions) from http://nodejs.org/download/ using the following command (see Fig. 1b, where the proxy server being used and its IP address have been blurred for privacy reasons):
wget http://nodejs.org/dist/v0.10.21/node-v0.10.21.tar.gz

3. Installing additional libraries
Next, we will install socket.io, which is a JavaScript library for real-time web applications. It has two parts:
- a client-side library that runs in the browser and
- a server-side library for node.js [1] using npm (the official package manager for node.js,
sudo npm install socket.io, see Fig. 2), and express, a web application framework for node.js.

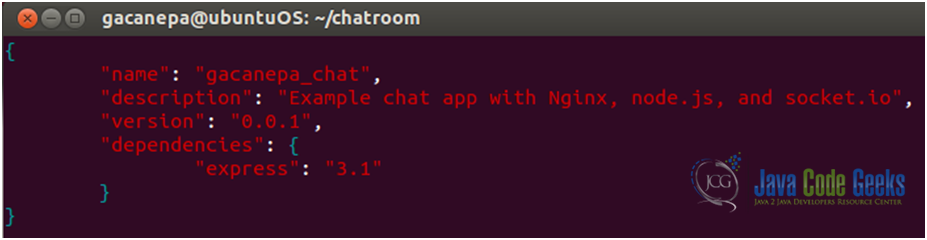
To download the express framework we need to define a couple of settings in a .json file (package.json) located in a directory created for our application – ~/chatroom in this example- (see Fig. 3). Then we proceed to download and install it with:
npm install –d
Since in this tutorial we are focusing on how Nginx works with websockets instead of programming with node.js, we will not develop a web app from scratch, but we will use an existing one which is available via GitHub [2]. We need to download the files index.html and app.js (see Fig. 4) using the following command:
wget https://github.com/mmukhin/psitsmike_example_1/archive/master.zip

Then we’ll unzip the files mentioned earlier and start the app with node app.js (see Fig. 5). We may have to stop Apache if it is running on port 8080.

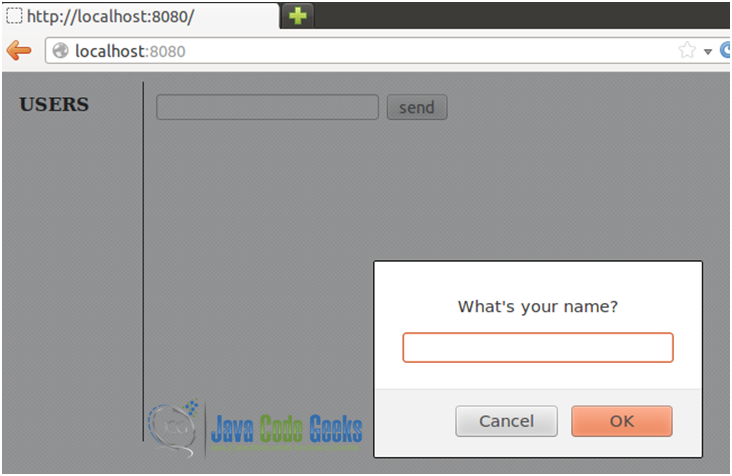
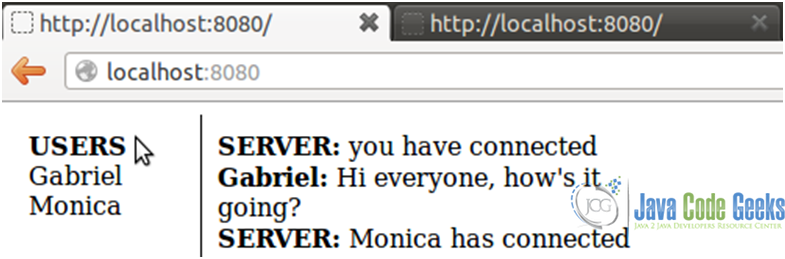
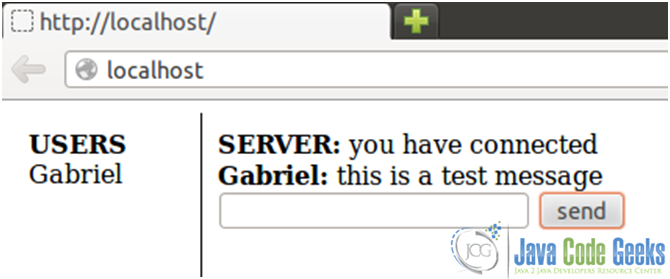
The result (see Fig. 6a and 6b) is not using Nginx yet and we haven’t mentioned why we want Nginx with websockets yet, but we’re half-way there though. So far we have a chat room-like web application that displays sent and received messages in real-time, along with server responses as well.
4. So… what does Nginx has to do with all of this?
If we need to use this application on a live (production) environment, we will probably want it to listen on port 80 (most enterprise-level firewalls allow communications through that port). But Nginx is already listening on that port. What do we do now? As before, our robust Nginx web server has the answer. We will simply forward incoming requests on port 80 (external connections) to another port (8080 in this case for internal connections). This way we are using Nginx as a reverse proxy and the outside world cannot talk to the chat room application directly, but through Nginx, which acts as a frontend server. This scenario will also allow us to use SSL certificates to encrypt traffic.
We will go ahead and edit the nginx.conf file (see Fig. 7) adding a few directives from the proxy module.
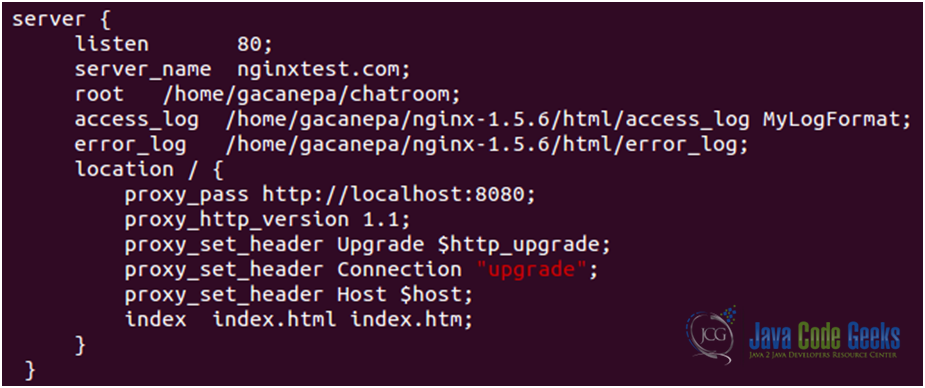
We will discuss each directive in detail:
- proxy_pass http://localhost:8080 : enables reverse proxying to a backend server by specifying its location (in this case, the same host, port 8080).
- proxy_http_version 1.1: sets the HTTP version to be used for communicating with the proxy backend. HTTP 1.0 is the default value, but if we need to enable keepalive connections, it’s best to set this directive to 1.1.
- proxy_set_header: This directive allows you to redefine header values to be transferred to the backend server. As we can see, it can be declared multiple times.
- proxy_set_header Host $host: The Host HTTP header in the request forwarded to the backend server defaults to the proxy hostname, as specified in the configuration file. This setting lets Nginx use the original Host from the client request instead. Refer to tutorial #2 for a complete list of http headers.
Since we want the app would start automatically when the server booted up, we need to manage the Node process with an init script or an upstart supervisor. We will choose the second option in this tutorial.
First, we will install forever, a very useful tool for running and monitoring Node.js processes (see Fig. 8).

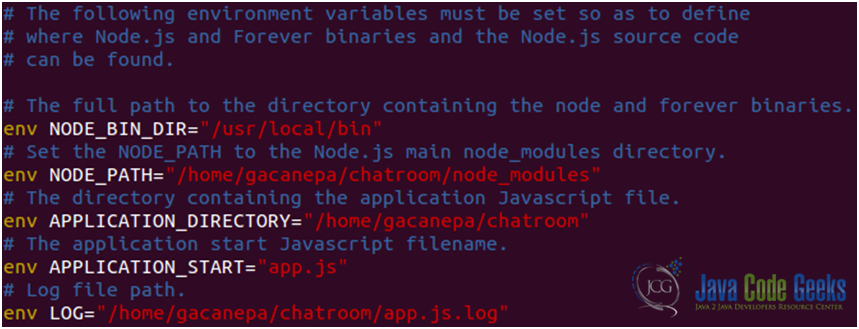
We also need an init script (app.js.conf – found in the attached zip file [3]) in the /etc/init directory to start (see Fig. 9a) / stop / restart our process (app.js) and if need be, display its status. This script is a generic upstart file where we define certain environment variables that are necessary for the script to run (see Fig. 9b).
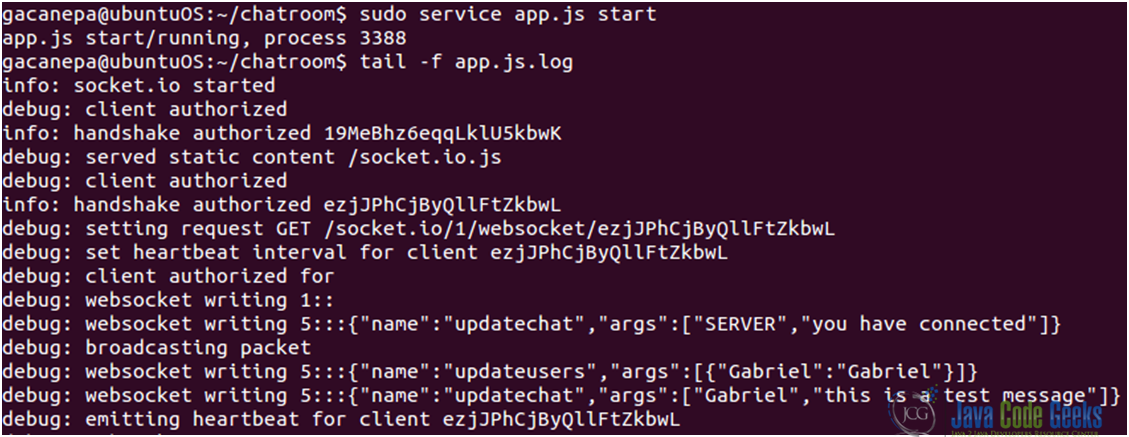
In the meanwhile, what we write in our chat room (see Fig. 10) is saved in the log of our application and we can see it in real-time, both in the web interface and from the command line using the command:
tail –f app.js.log
Notice that we are accessing our web application using Nginx as our frontend server (as opposed to the case shown in Figs. 6a and 6b, where the web application is run by node.js exclusively running on port 8080).
5. Download Nginx Websockets proxying guide source files
You can download the Nginx Websockets proxying guide files of this tutorial: WebsocketsExample.zip
| [1]: Socket.io, Wikipedia |
| [2]: Chatroom example |
| [3]: Adapted from ExRation |
